Start with the buyer’s point of view
Home staging is not a renovation project or an attempt to make every room look like a showroom. It is the work of editing, arranging, cleaning, and preparing a property so buyers can understand its best qualities without being distracted by the way the current owner lives there. The goal is clarity. A buyer should be able to walk in, understand what each room is for, notice the natural light and storage, and imagine a life in the home. The National Association of REALTORS® reports that 83% of buyers’ agents say staging makes it easier for buyers to visualize a property as their future home. That is why the best staging decisions are made for the listing, not for the seller’s personal taste.
1. Begin with repairs, cleaning, and a realistic timeline
Walk through the home as if you were seeing it for the first time. Look for burnt-out bulbs, scuffed walls, loose handles, stained grout, unfinished touch-ups, pet wear, and anything that makes a buyer wonder what else may have been overlooked. Fix the small, visible items before putting energy into decor. Then clean more deeply than usual. Windows, light fixtures, baseboards, floors, kitchens, bathrooms, and entry doors all show up in listing photos and in a buyer’s first impression. Schedule this work before photography, not the day before. A clear timeline gives you room to make thoughtful choices instead of filling rooms with last-minute solutions.
2. Edit each room down to its purpose
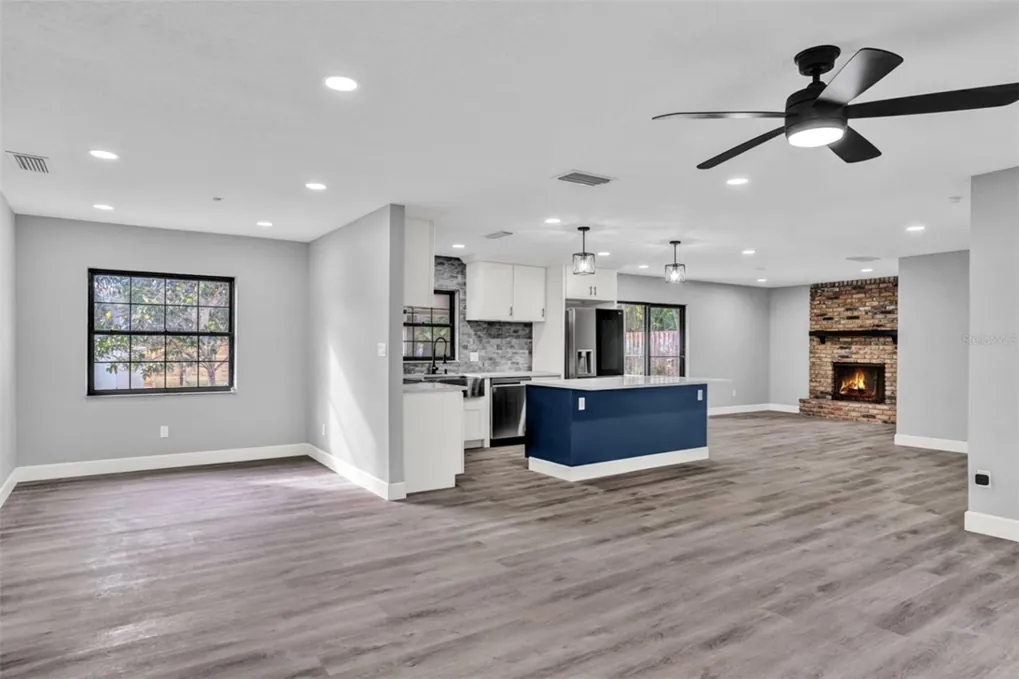
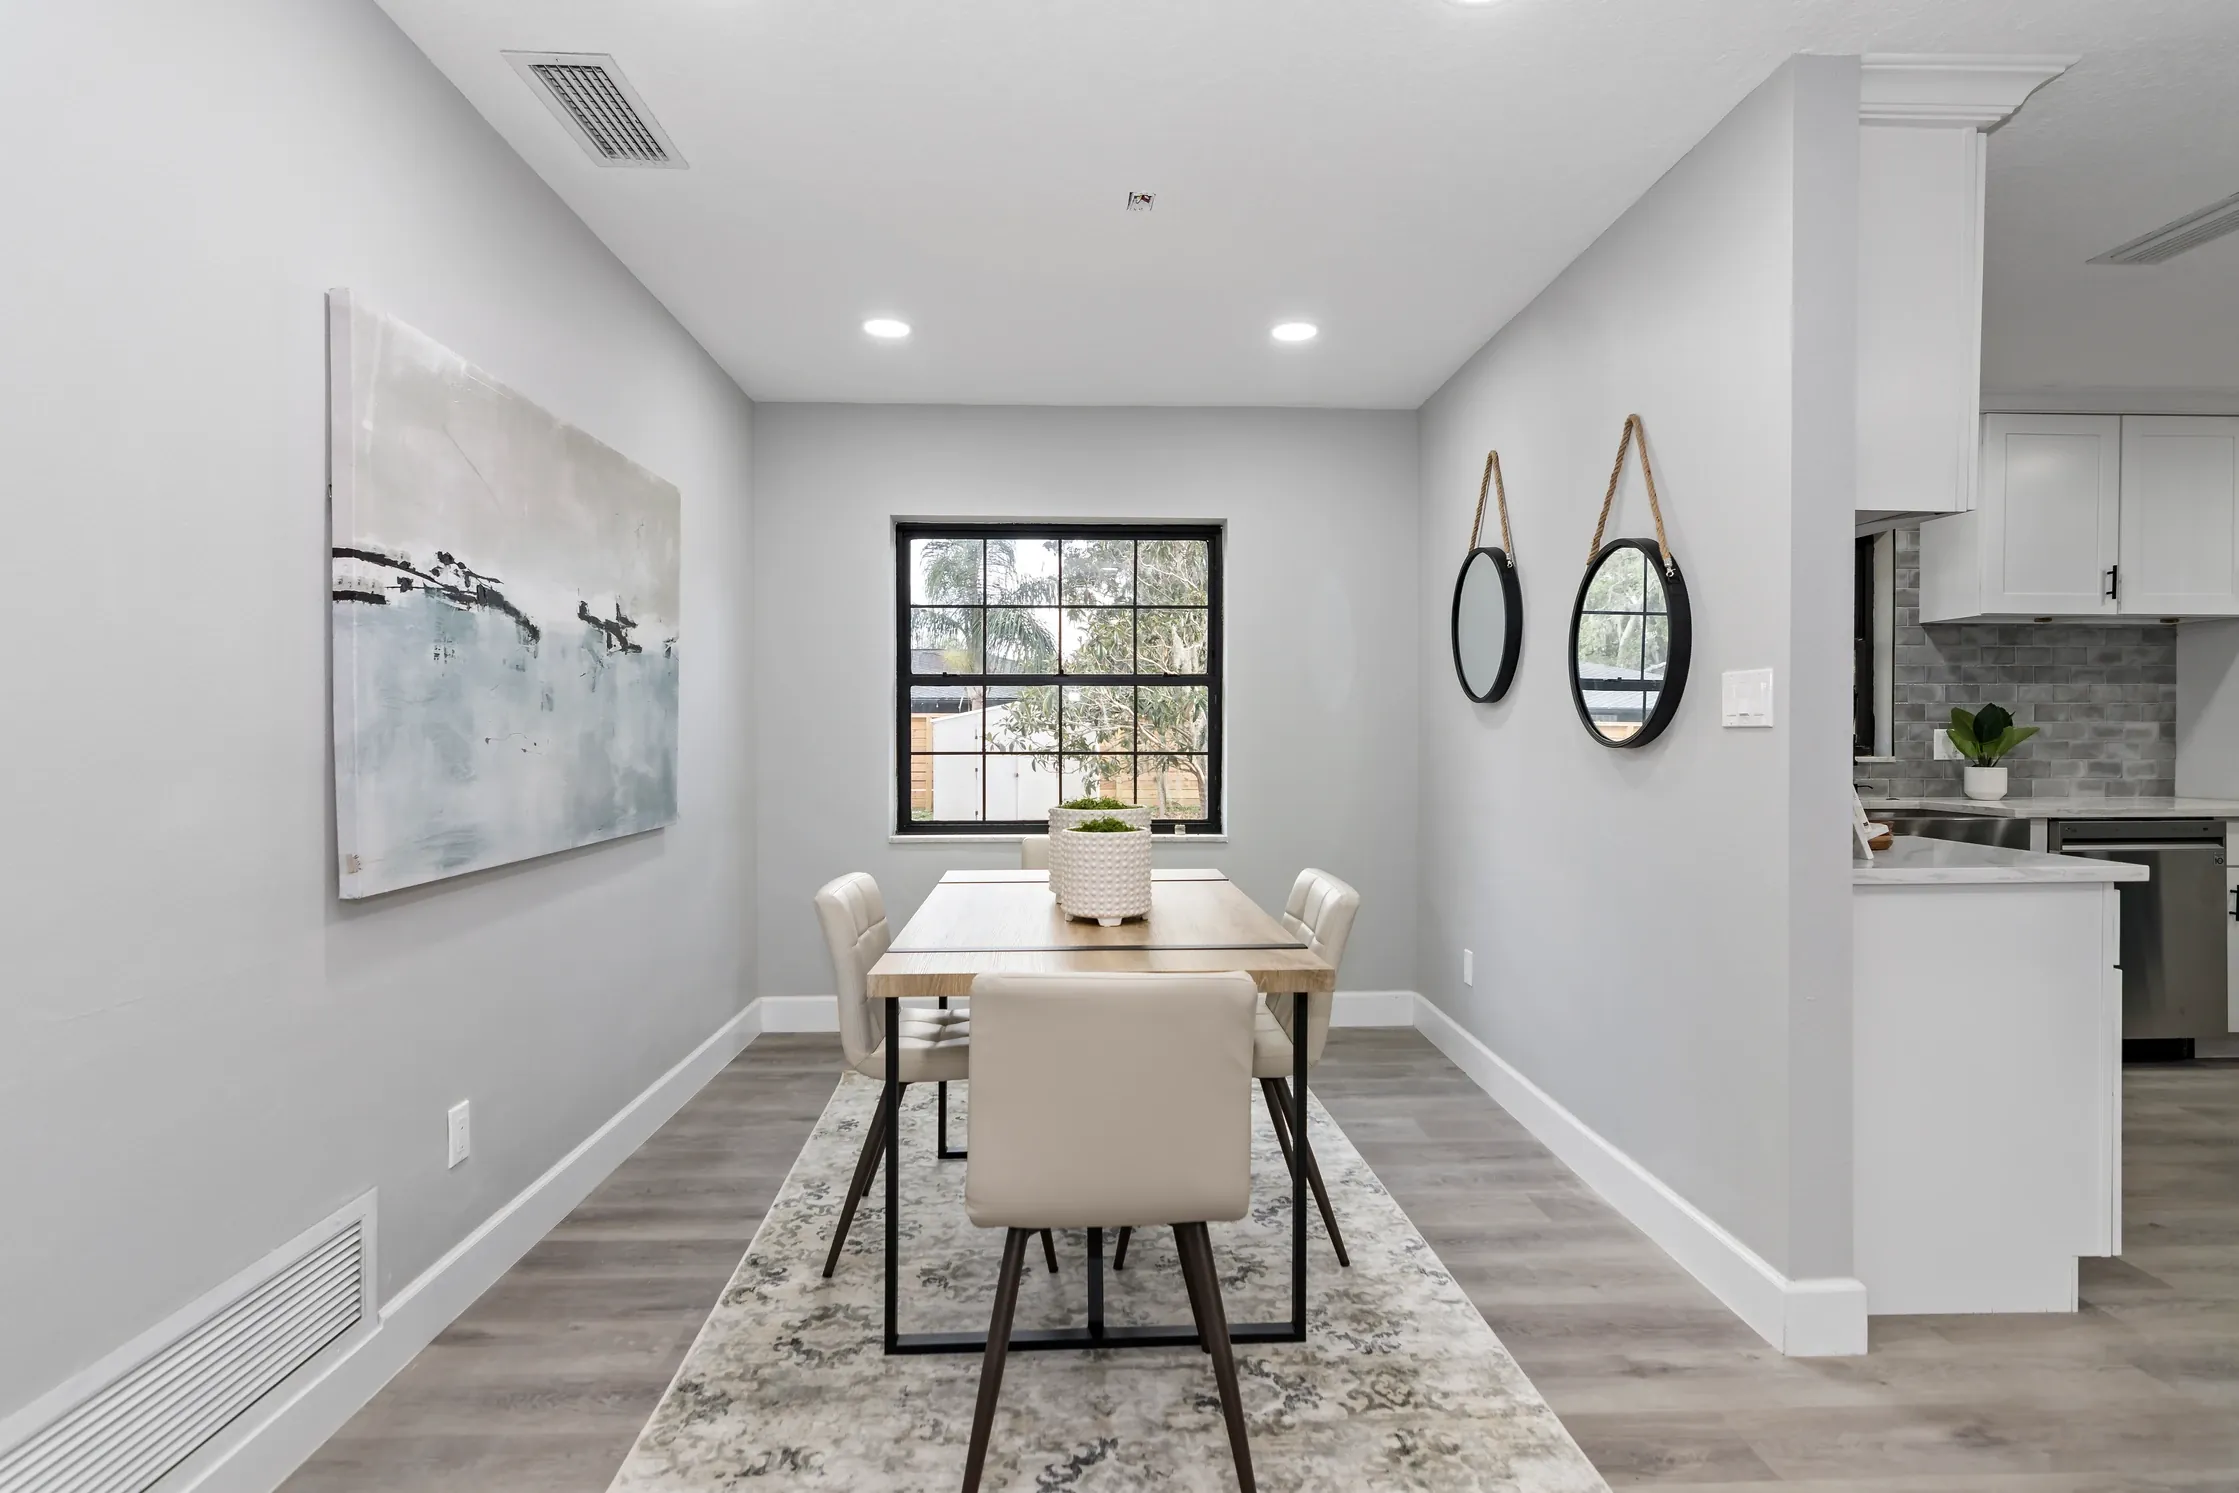
A buyer should not have to guess whether a room is a dining room, home office, playroom, or storage zone. Start by giving every space one obvious job. Remove furniture that blocks circulation or makes the room feel crowded. Pack the items that do not support the room’s purpose, even if they are useful in everyday life. In a living room, buyers should see an easy conversation area. In a bedroom, they should see rest, scale, and room to move. In a bonus room, choose one use that will make sense to the likely buyer instead of showing several competing functions. This is especially important in open plans, where furniture placement has to create the zones that walls do not.
3. Declutter without making the house feel empty
Decluttering is not just about clearing countertops. It is about reducing visual decisions for the buyer. Start with surfaces, shelves, closets, laundry rooms, pantries, bathrooms, and the garage. Store paperwork, daily kitchen equipment, collections, extra chairs, seasonal decor, bulky pet supplies, and anything that makes a room look smaller or harder to maintain. In closets and cabinets, aim to show usable capacity rather than every item you own. Leave some negative space, but keep enough furniture and a few restrained accessories to show scale and warmth. A home can feel lived in without looking full. The right edit makes the buyer notice the room, not the contents.
4. Depersonalize carefully
Buyers need room to picture their own life in the home. Pack away family photos, diplomas, personal care items, prescription medications, political displays, highly specific collections, and valuables before photography and showings. That does not mean stripping a home of all character. Neutral art, a simple table setting, fresh bedding, a throw blanket, and a few natural elements can still make rooms feel inviting. The difference is that these details support the space instead of telling the story of the current owner. If a buyer is studying a wall of personal photos or a very themed room, they are not paying attention to the window placement, floor plan, or storage that could make the house right for them.
5. Prioritize the rooms buyers notice first
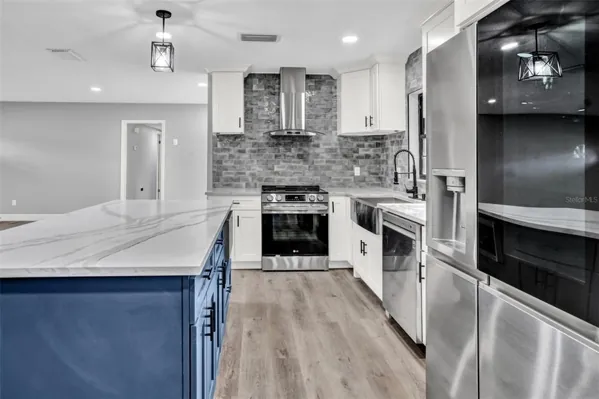
You do not need to spend the same effort in every room. Begin with the spaces that set the tone in listing photos and during a showing: the entry, living room, kitchen, dining area, primary bedroom, and outdoor living space. The 2025 Profile of Home Staging found that buyers’ agents consider the living room, primary bedroom, and kitchen the most important rooms to stage. In practice, these spaces answer the biggest buyer questions: Can we gather here? Is there room for daily routines? Does this home feel cared for? A clean secondary bedroom is enough when it has a clear purpose, while a strong living room or primary bedroom can carry far more of the listing’s visual story.
6. Stage the living room for conversation and flow
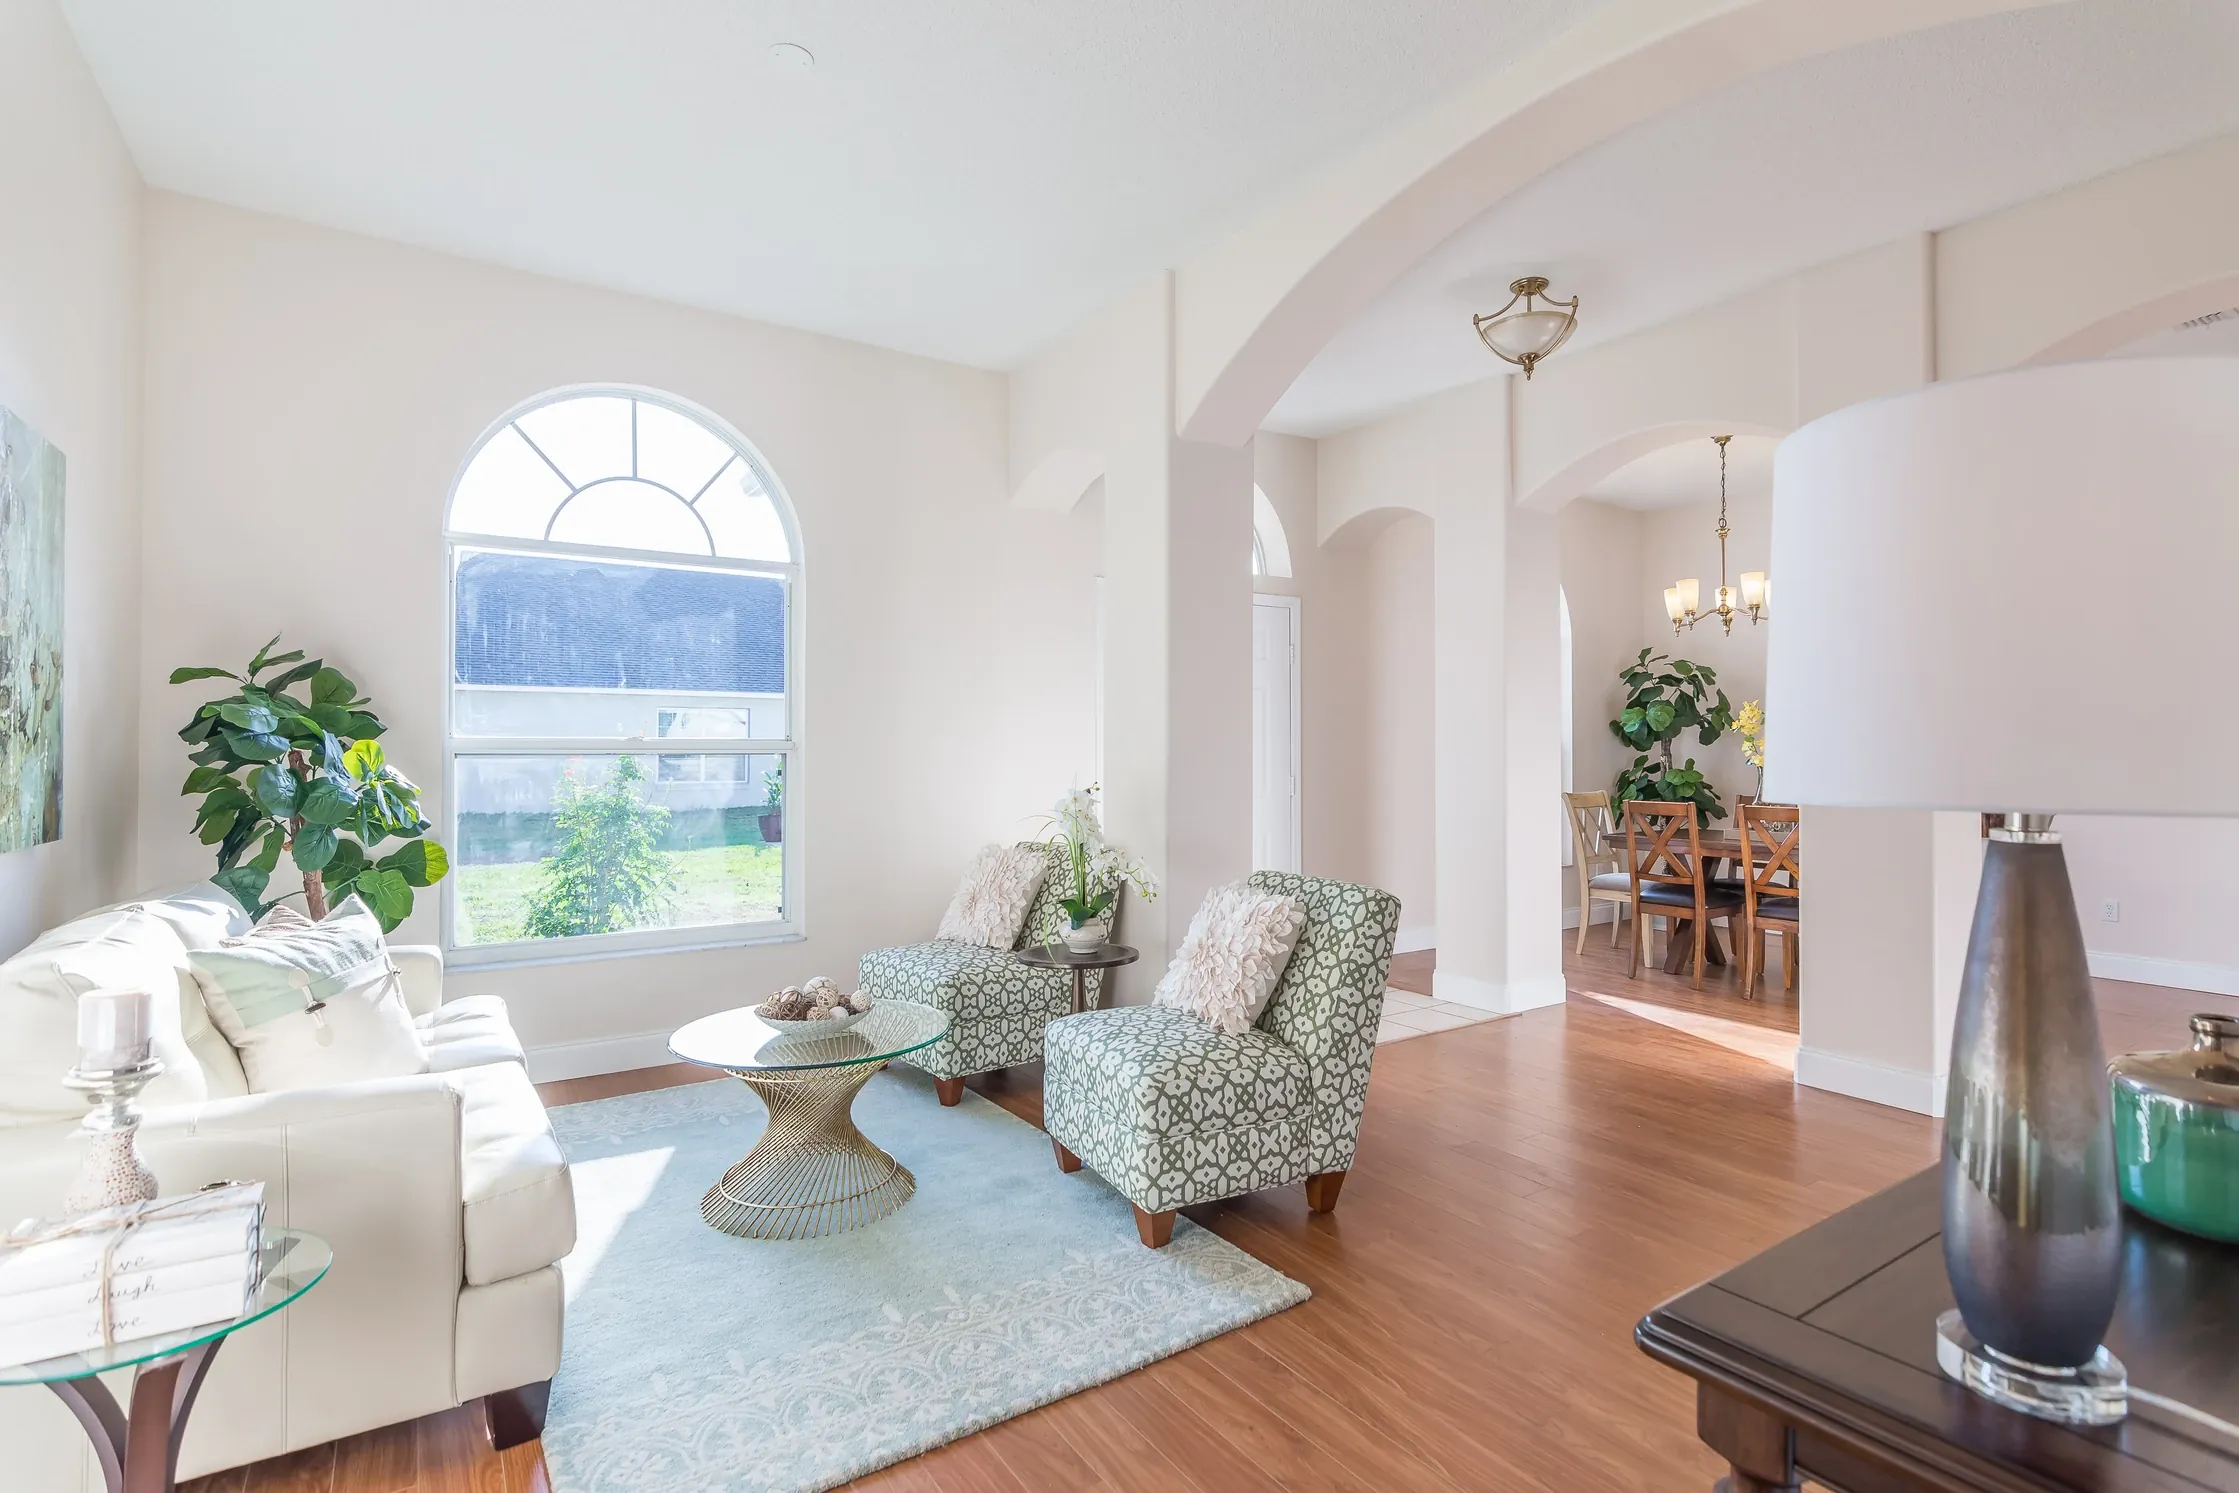
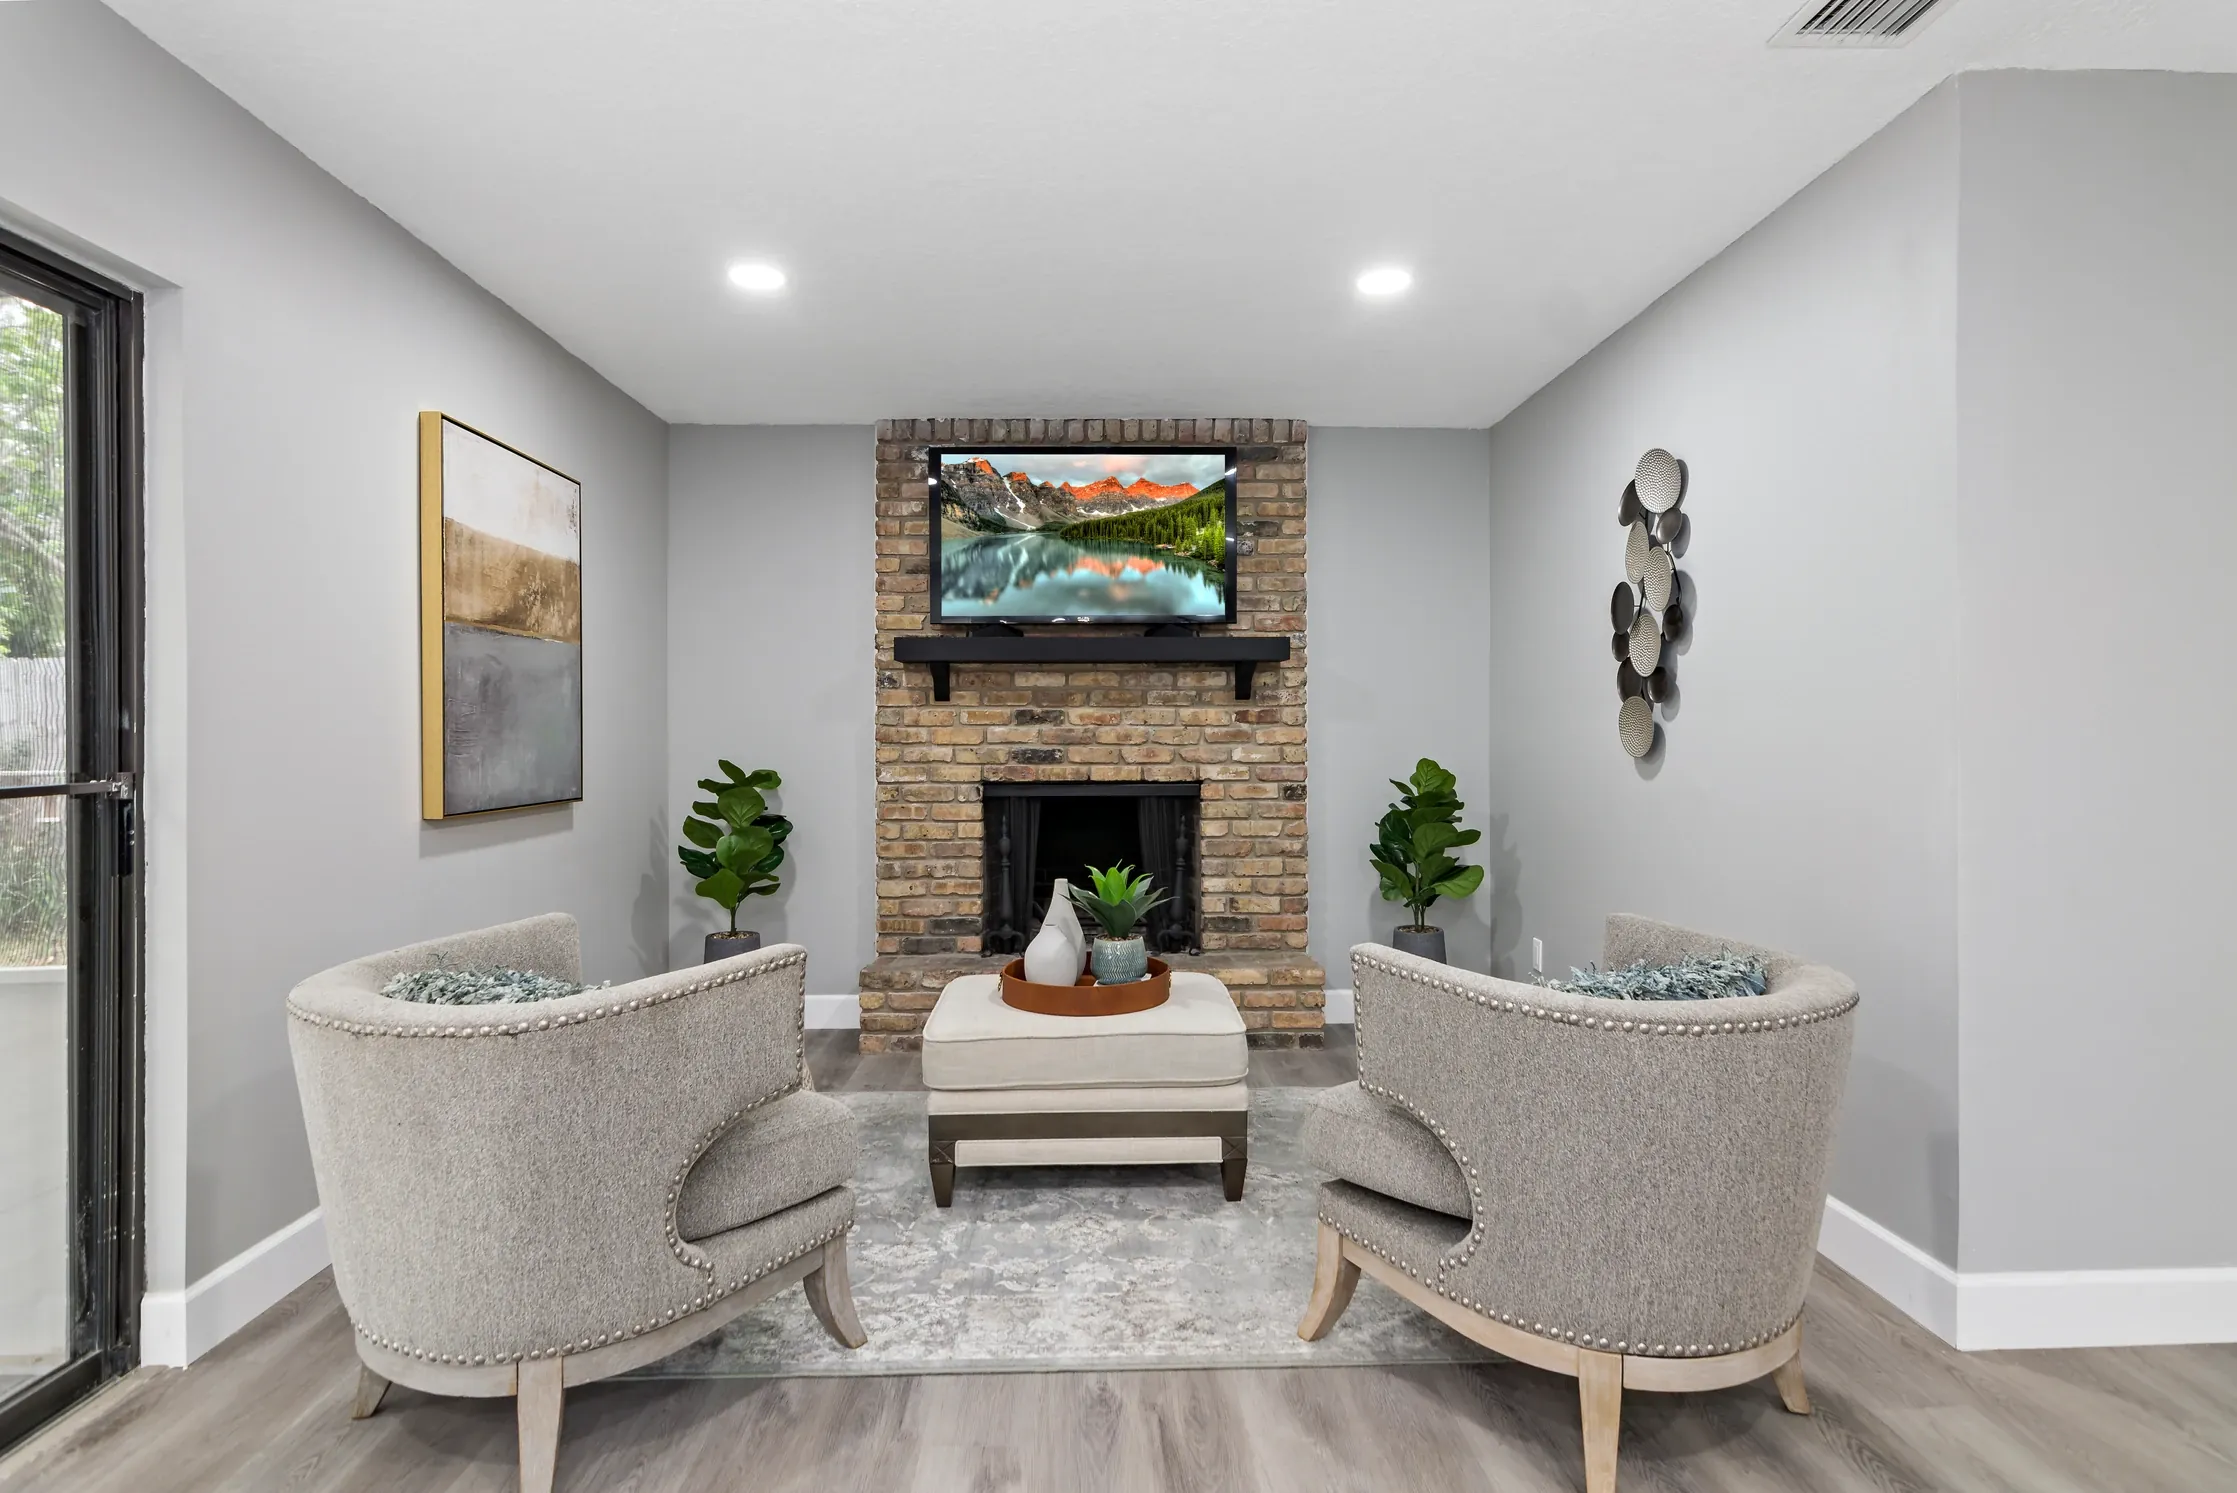
The living room often does the heaviest lifting in a listing. Pull seating into a simple conversation arrangement rather than lining every piece against a wall. Choose a rug that gives the furniture a shared footprint, then make sure there is an open path through the room. Remove too-small chairs, extra side tables, and oversized pieces that crowd the windows or fireplace. A coffee table should be easy to walk around and styled simply, not used as storage. When the room is large, use furniture to show separate but connected areas. When it is small, fewer pieces with the right scale will be more convincing than trying to show every possible function at once.
7. Make the kitchen look ready for daily life
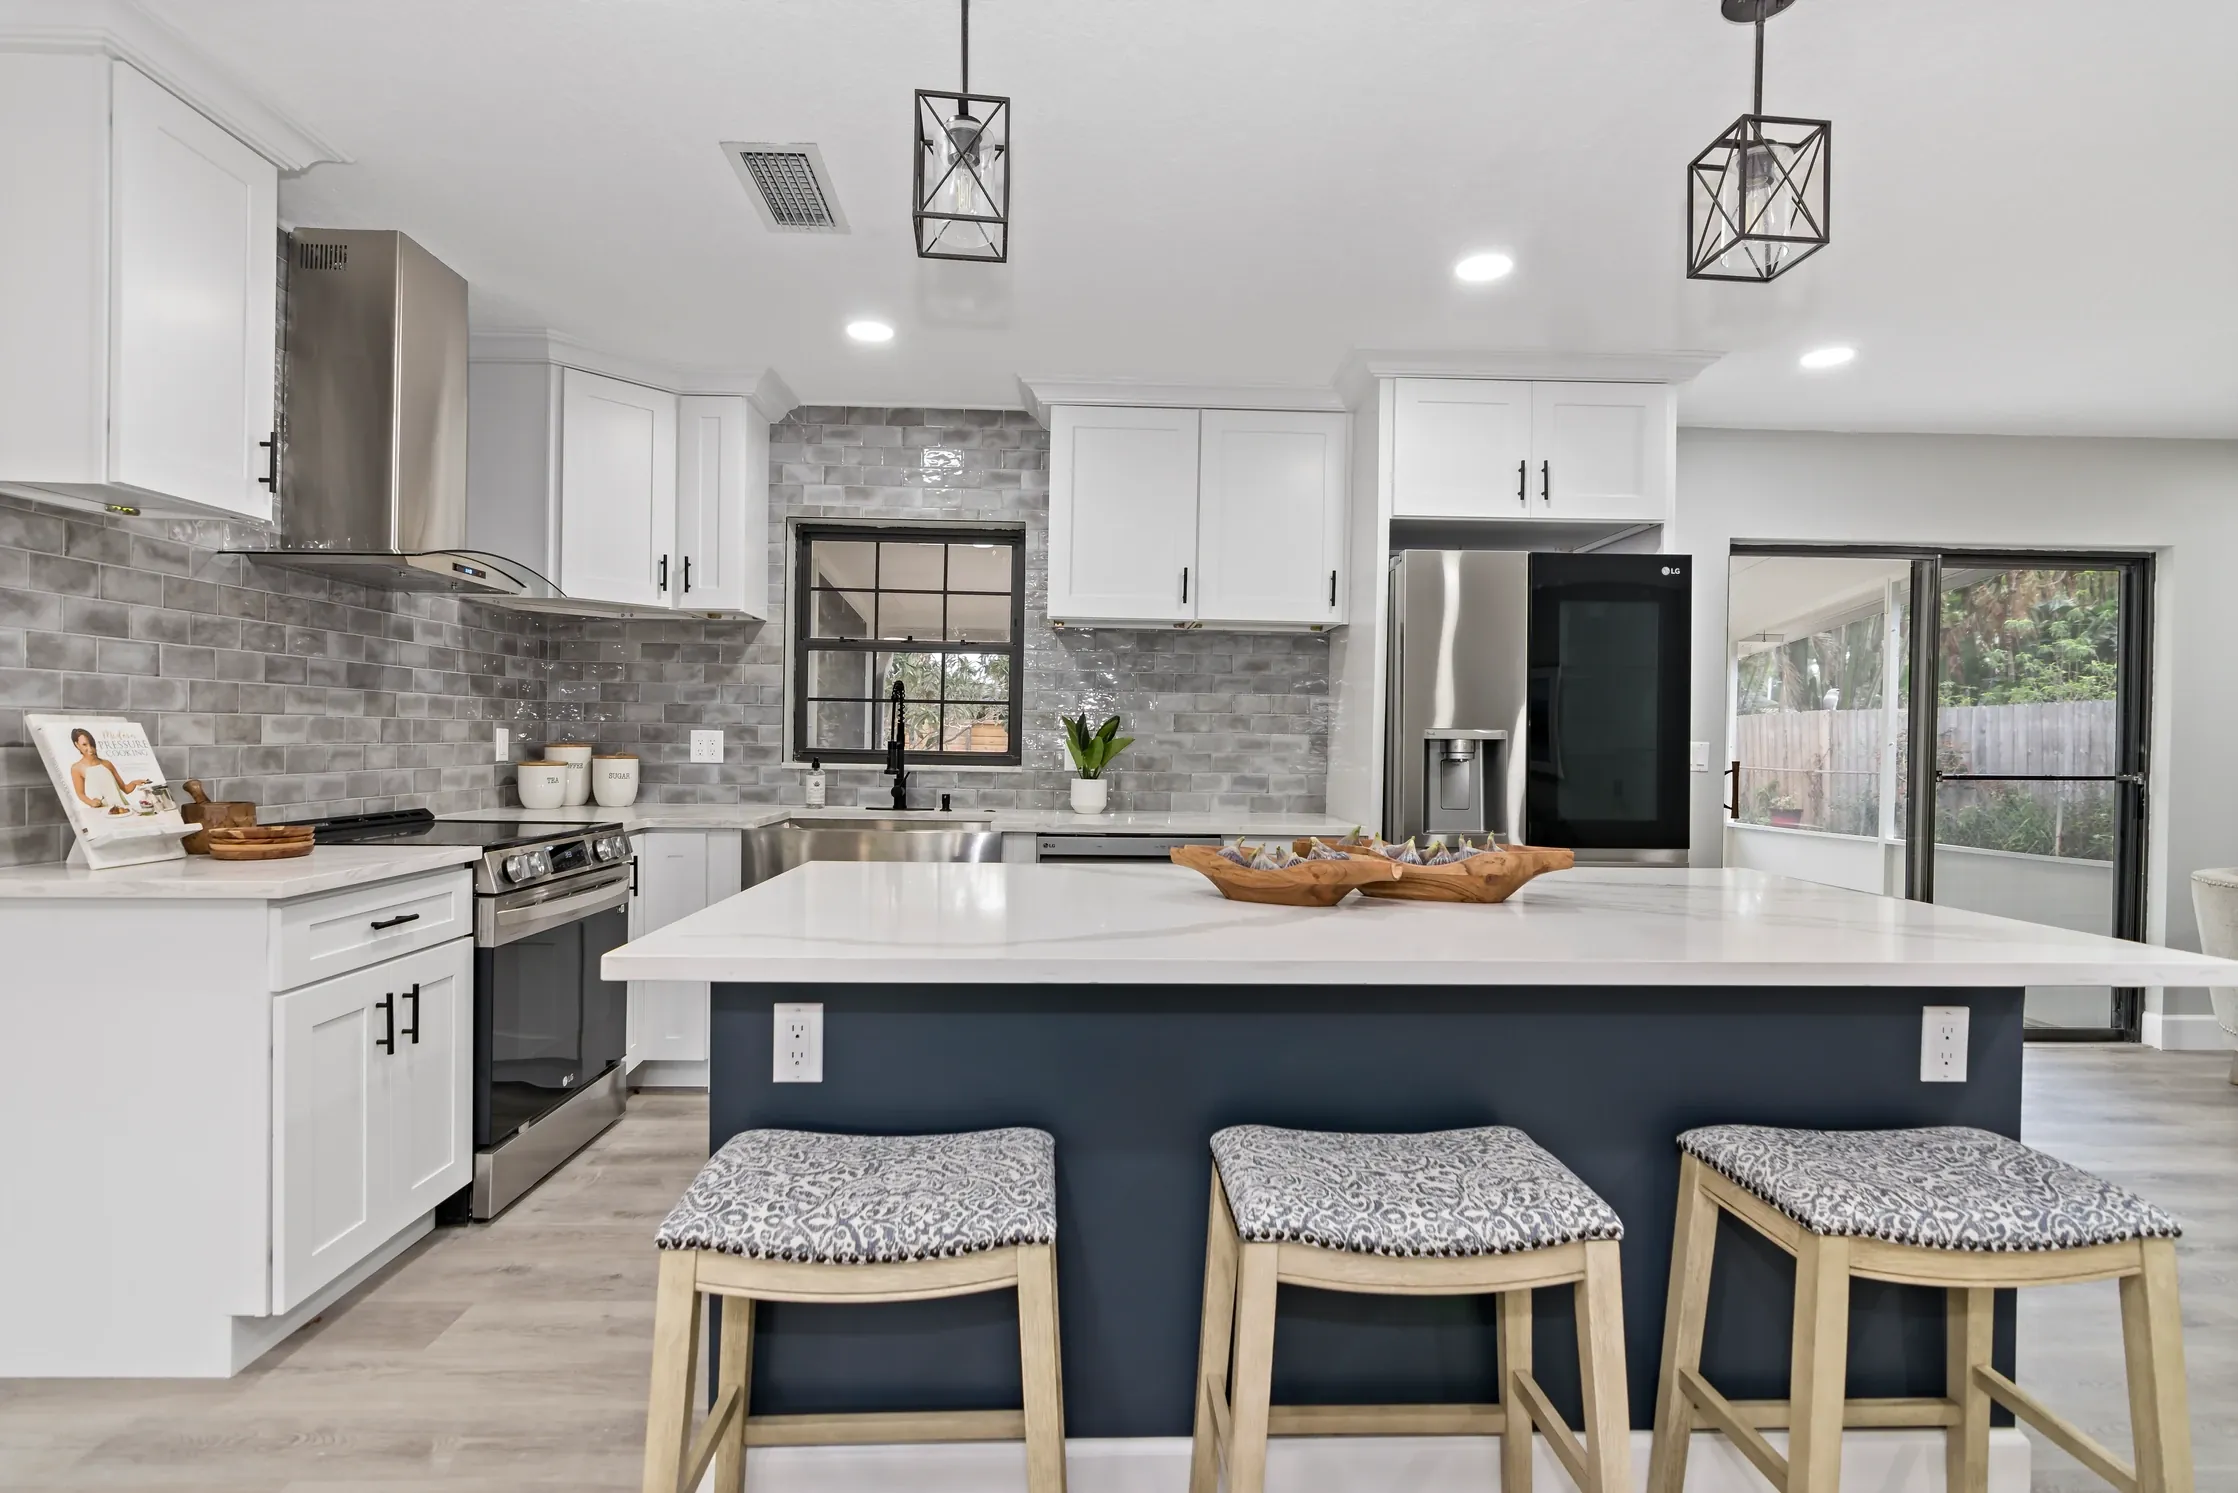
Kitchens sell the feeling of everyday ease. Clear counters almost completely, then add back only a few purposeful elements such as a small bowl of fruit, a clean cutting board, or a restrained vase. Put away magnets, dish racks, appliance cords, cleaning products, and stacks of mail. Check cabinet fronts, hardware, grout, faucets, and the area around the range hood, because buyers are close to these details in person. Keep stools tucked in so the island reads as spacious, and make sure pendant lights and under-cabinet lighting work. The kitchen does not need to feel sterile. It needs to feel clean, functional, and ready for the next owner to use from the first morning.
8. Give bedrooms a calm, spacious point of view
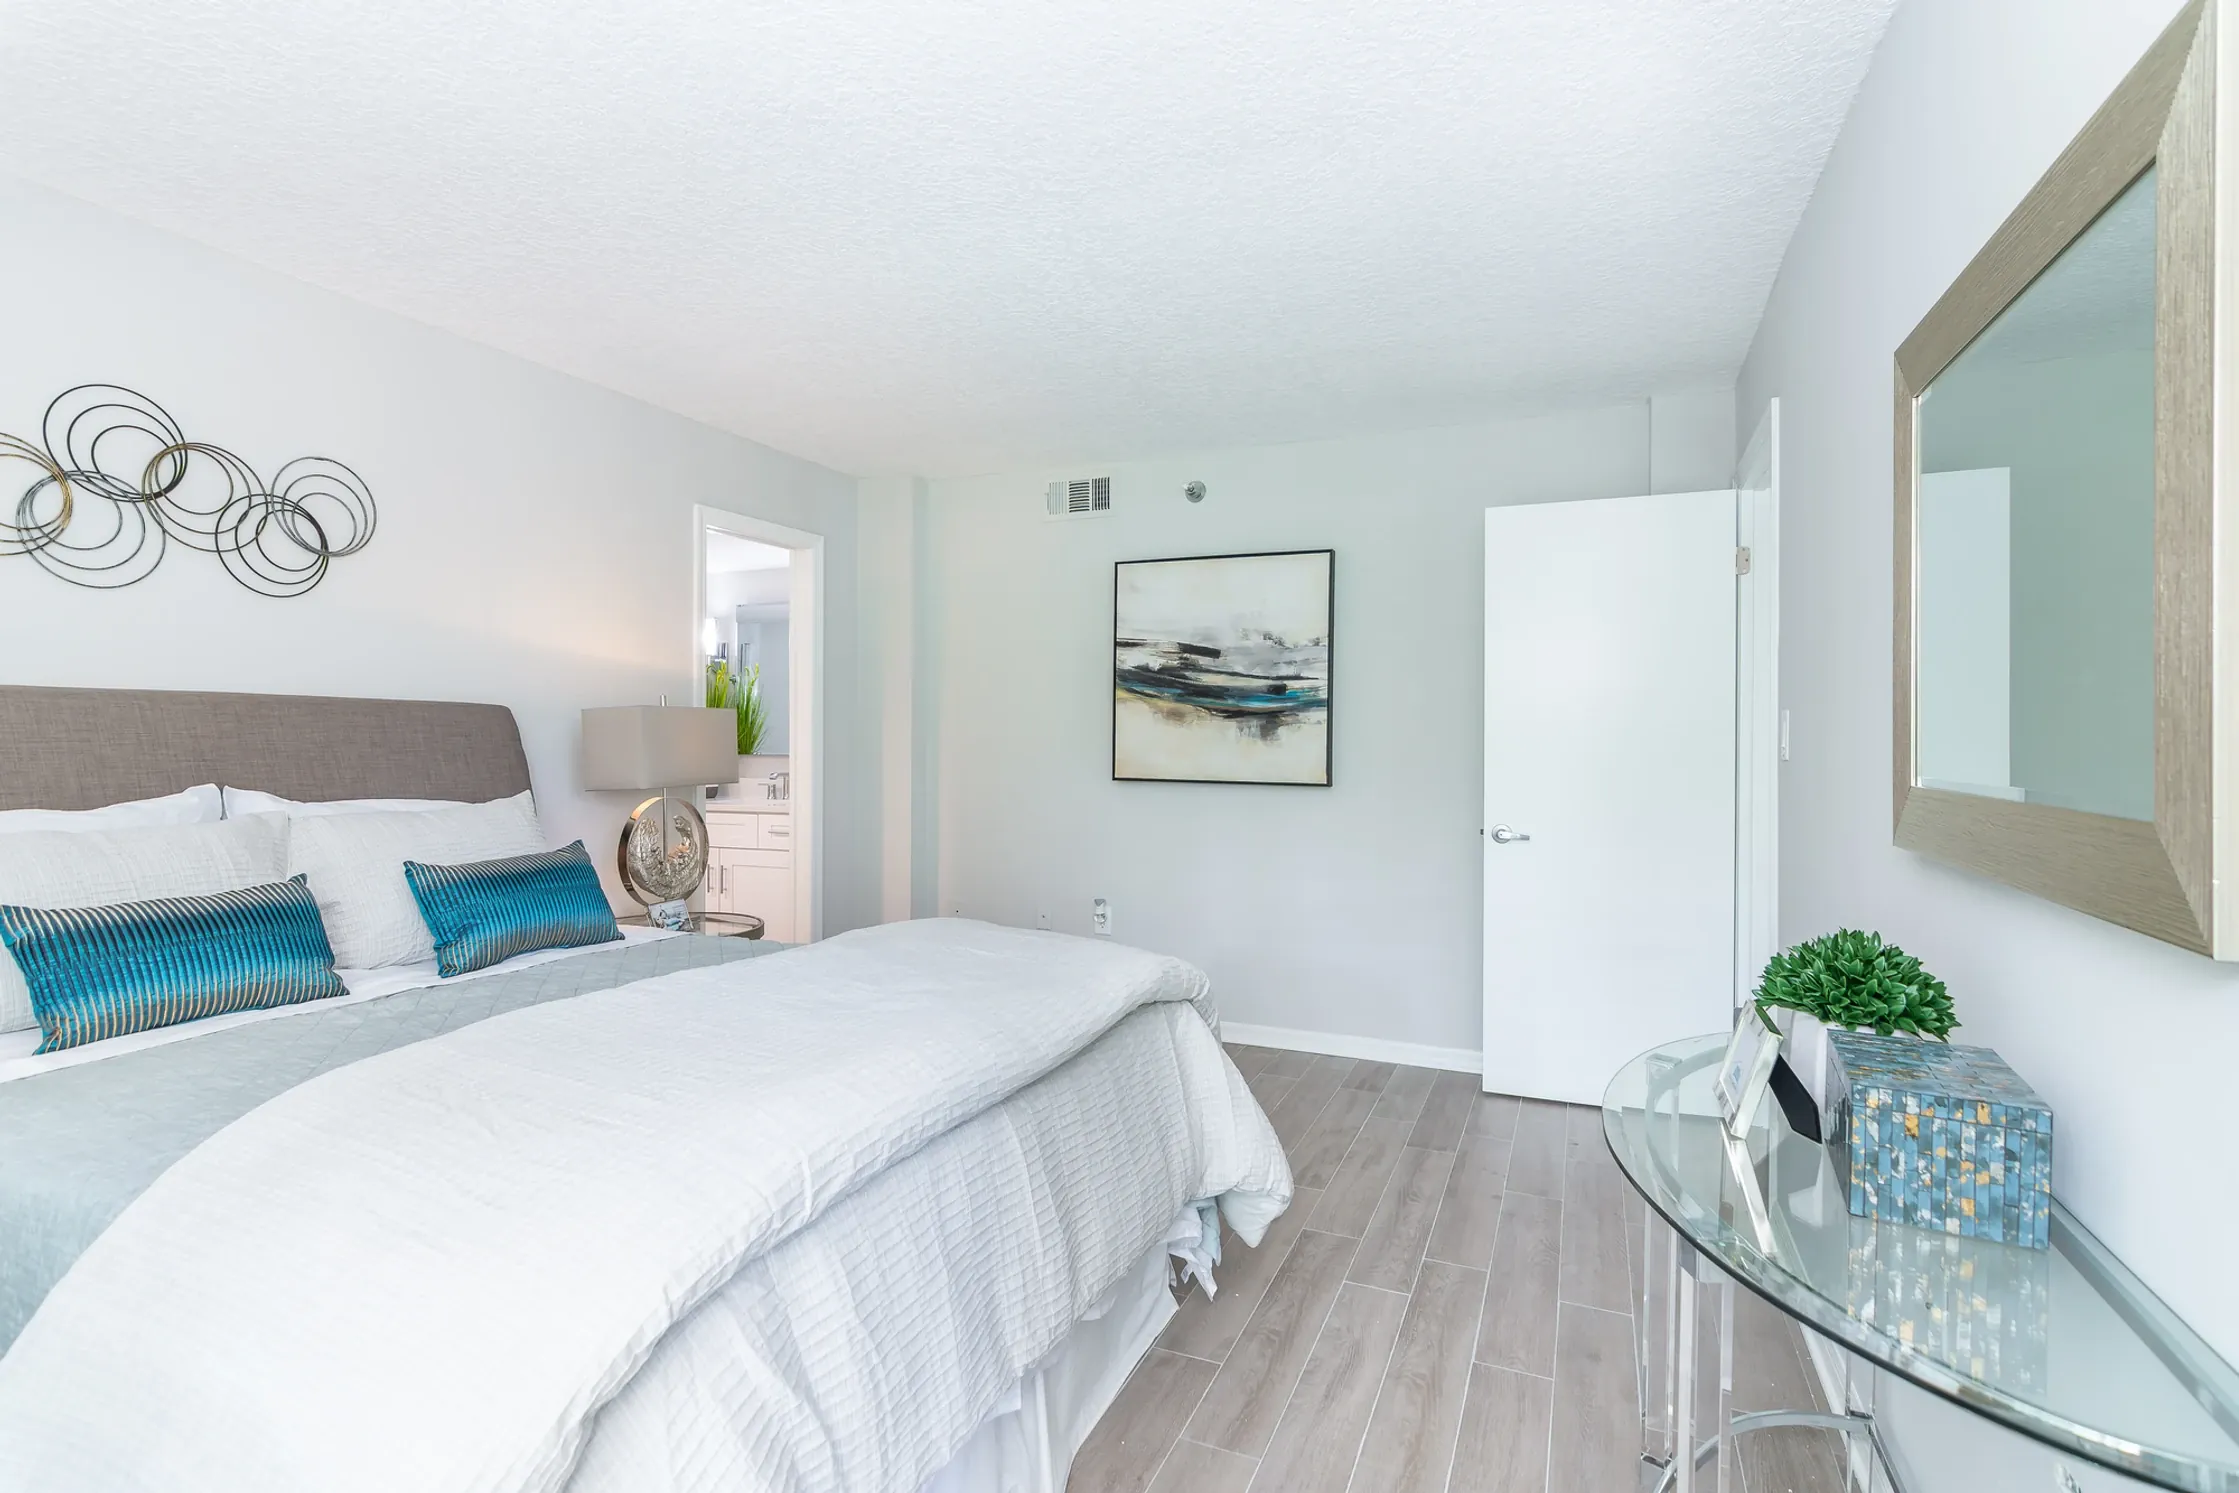
Bedrooms should read as restful and properly scaled. Make the bed with crisp, simple bedding and remove exercise equipment, work piles, overflowing laundry, and furniture that does not belong in a sleeping space. In the primary bedroom, show a clear path around the bed and make sure nightstands and lamps are balanced enough to feel intentional. If a room is being used as storage, decide whether it can be returned to a bedroom or whether a simple office setup better matches the likely buyer. Children’s rooms can still feel personal, but edit down toys, wall decor, and bold themes so the size and storage remain visible. A buyer should leave with a clear sense of how the room will support their routine.
9. Use light, color, and accessories with restraint
Open window coverings, clean the glass, and turn on the lights before photos and showings. Replace mismatched or overly cool bulbs so the home has a consistent, comfortable light level. If a room is dark because of its paint color, condition, or lack of natural light, a fresh neutral paint color can be a useful reset. Keep the palette connected from room to room instead of introducing a different trend in each space. Accessories should add a finished feeling, not create clutter. One well-placed piece of art, a pillow with quiet color, a plant, or neatly folded towels can go a long way. If an accessory makes a room feel smaller, fussy, or highly specific, leave it out.
10. Do not forget the entry and outdoor spaces
The showing begins before the buyer reaches the front door. Clear the walkway, trim landscaping, sweep the porch, clean the door and hardware, and replace any tired doormat or dead plants. In Florida, outdoor living areas can be part of the property’s everyday appeal, so stage a patio, lanai, balcony, or pool area as a usable extension of the home. Clean cushions, remove broken or extra furniture, and give the buyer a clear view of the space. Inside, the entry should feel open and easy to navigate. A small console, mirror, or simple art can establish the home’s tone, but a crowded drop zone or pile of shoes makes the arrival feel less considered.
11. Prepare for photography and every showing
Staging is only effective when it holds up through the listing launch. Before the photographer arrives, do one quiet walkthrough at eye level and through your phone camera. Look for cords, trash cans, pet bowls, visible toiletries, wrinkled bedding, crooked art, and furniture that blocks the strongest angle. Ask your agent and photographer which rooms will carry the marketing, then spend the final effort there. For showings, make a repeatable reset list: counters cleared, beds made, lights on, blinds adjusted, laundry hidden, bins emptied, and personal items secured. A home that is ready to show consistently gives every buyer the same chance to respond to its strengths.
A quick pre-listing check
Before the first photo or showing, stand at the front door and move through the home slowly. Can you see the strongest feature of each room without looking past clutter? Is there a clear place to walk, sit, eat, sleep, work, and gather? Are the windows uncovered, the lights working, and the main surfaces clean? Does the home feel calm at the first glance, then useful when you look closer? This final pass helps you catch the ordinary details that can compete with the property’s better qualities. Make notes as you go, then tackle the changes in order of visibility: first the entry and main living spaces, then the kitchen and primary bedroom, then the remaining rooms and storage areas.
When professional staging is the better fit
A thoughtful DIY plan can make a meaningful difference, particularly in an occupied home with good furniture and a manageable timeline. Professional staging becomes more valuable when a property is vacant, the rooms are large or awkward, the listing needs to compete at a higher price point, or the current furniture does not show the home at its best. Maggie’s approach begins with the property and its listing strategy, then recommends the scope that makes sense for the rooms buyers need to understand. For vacant homes, a complete presentation can give scale, purpose, and a photography-ready point of view from the start. Explore our home staging services or request a staging proposal when you want a plan built around a specific property.
A plan built for the listing
Every home needs a different level of preparation. Explore Maggie’s home staging services or request a staging proposal for a recommendation based on your property, timeline, and priorities.
Frequently asked questions
Should I stage a house before listing it?
Yes. The best time to stage is before photography and before the first buyers see the home. That gives the listing a consistent presentation from its first online impression through showings.
Do I need to stage every room in my house?
No. Start with the entry, living room, kitchen, dining area, primary bedroom, and outdoor living areas. Other rooms should be clean, uncluttered, and assigned a clear purpose.
Can I stage a house while living in it?
Yes. Focus on editing what is visible, creating a simple daily reset routine, and packing the belongings that make rooms feel crowded or overly personal.
What is the difference between decorating and staging?
Decorating reflects the people who live in a home. Staging prepares the property for a wide range of buyers by showing scale, function, and a clear lifestyle story.
Further reading
National Association of REALTORS® consumer guide to staging a house for sale
National Association of REALTORS® 2025 Profile of Home Staging findings